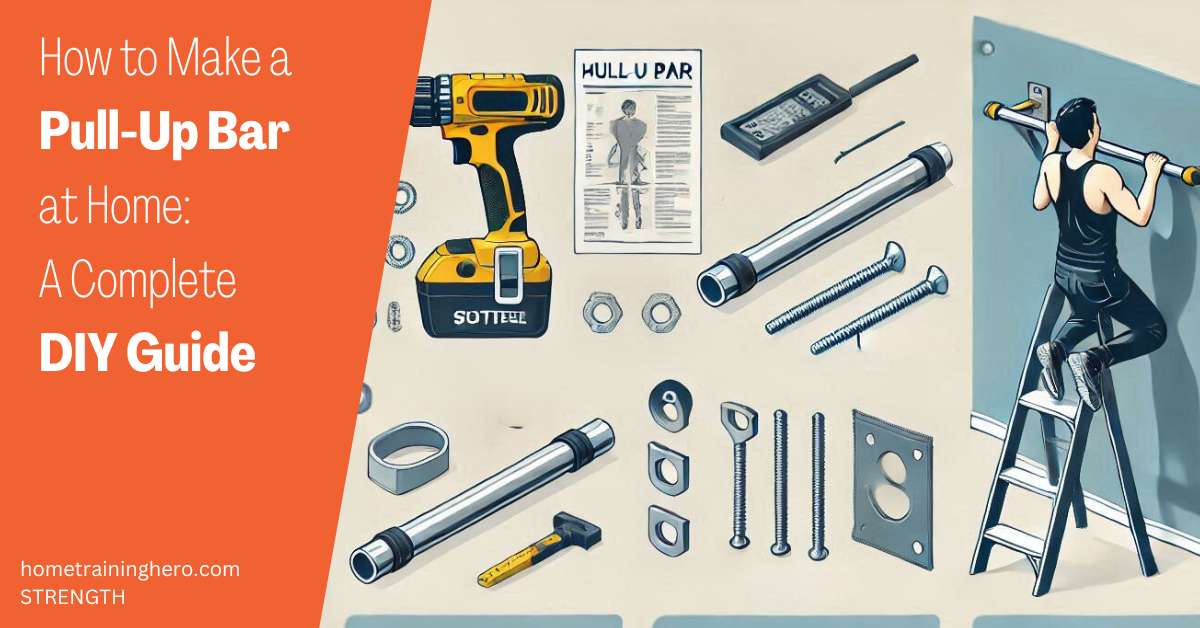
Ever wanted to build upper body strength but don’t have access to a gym?
Making your own pull-up bar at home can be a game-changing solution. In this comprehensive guide, I’ll walk you through various DIY pull-up bar options that are both safe and effective for your home workouts.
Let’s get to it!
Contents
- 1 Why Build Your Own Pull-Up Bar?
- 2 Safety Considerations First
- 3 Option 1: Wall-Mounted Pull-Up Bar
- 4 Option 2: Ceiling-Mounted Bar
- 5 Option 3: Free-Standing Pull-Up Frame
- 6 Materials Comparison Table:
- 7 Time vs. Convenience: Making the Right Choice
- 8 Maintenance and Care
- 9 Alternative Solutions
- 10 Getting Started with Pull-Ups
- 11 FAQ
- 12 Take Action Now: Your Path to Pull-Up Success
- 13 Conclusion
Why Build Your Own Pull-Up Bar?
Before diving into construction methods, let’s understand why building a pull-up bar is worth your time. Pull-ups offer incredible benefits for upper body strength, and having one at home eliminates common barriers to consistent training.
Benefits of a DIY pull-up bar include:
- Cost-effectiveness compared to commercial options
- Customization to your specific space and needs
- Pride in creating your own workout equipment
- Immediate access for bodyweight training
Safety Considerations First
Creating a safe pull-up bar is paramount. Before starting your DIY project, consider:
- Weight capacity needed (aim for at least 1.5x your body weight)
- Mounting surface strength (wall studs, ceiling joists, or door frame integrity)
- Quality of materials (avoid cheap hardware store pipes)
- Regular maintenance checks
- Proper installation techniques
If you’re concerned about the complexity of DIY installation or want a proven solution, our detailed door pull-up bar guide offers expert recommendations for ready-to-use options that require minimal setup.
Option 1: Wall-Mounted Pull-Up Bar
The wall-mounted version offers excellent stability and versatility.
Materials Needed:
- 1.5-inch diameter steel pipe (4-5 feet long)
- Two mounting brackets rated for heavy duty use
- Lag bolts (4-6 inches long)
- Washers and nuts
- Stud finder
- Level
- Power drill
- Wrench set
Note: If this materials list seems overwhelming, you’re not alone. Many fitness enthusiasts prefer to start with a door-mounted pull-up bar before committing to a permanent installation.
Installation Steps:
- Locate and mark wall studs
- Position brackets at shoulder width plus 12 inches
- Pre-drill holes into studs
- Mount brackets with lag bolts
- Insert and secure the steel pipe
- Test thoroughly before first use
Option 2: Ceiling-Mounted Bar
Perfect for those with limited wall space.
Materials Needed:
- Similar to wall-mounted version
- Additional ceiling mounting plates
- Longer bolts for joist attachment
Installation Steps:
- Locate ceiling joists
- Mark mounting points
- Install ceiling plates
- Attach vertical supports
- Secure horizontal bar
- Test weight capacity gradually
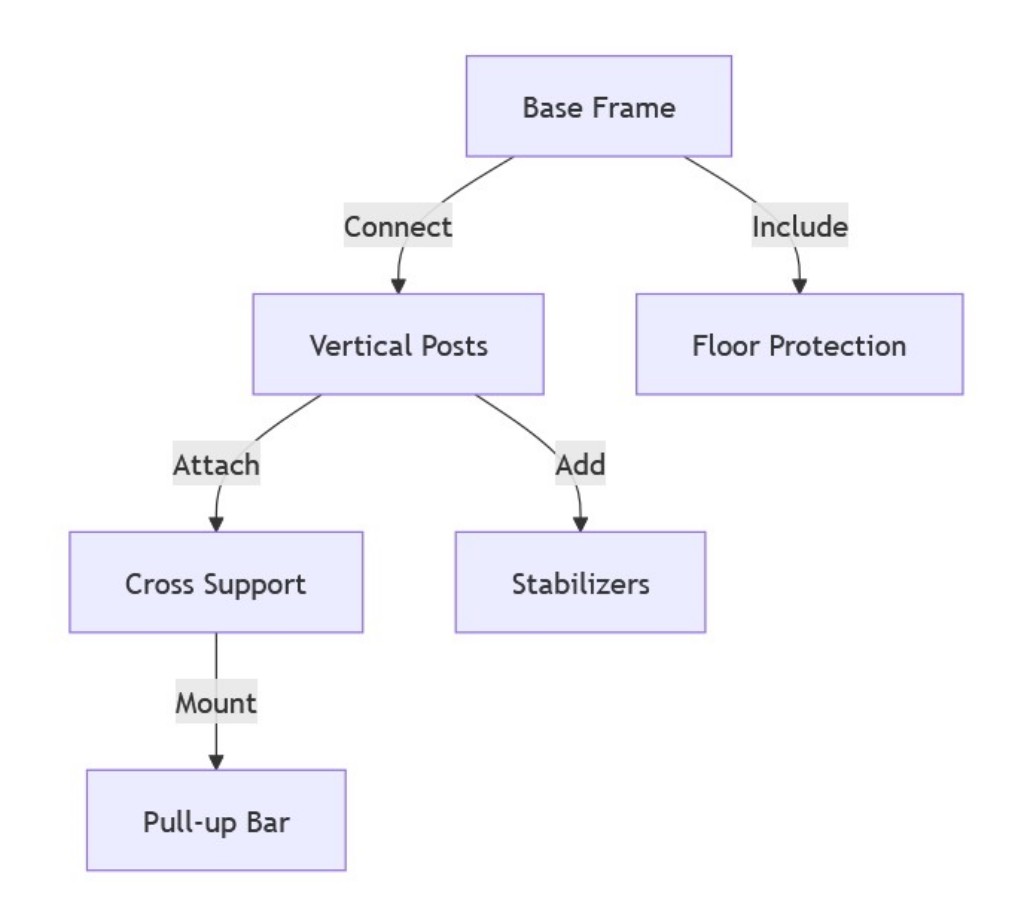
Option 3: Free-Standing Pull-Up Frame
Ideal for renters or those who can’t modify walls.

Materials Comparison Table:
| Component | Budget Option | Premium Option | Durability |
|---|---|---|---|
| Main Bar | Steel Pipe | Olympic Bar | 5-10 years |
| Supports | 2×4 Lumber | Steel Frame | 3-7 years |
| Hardware | Basic Bolts | Grade 8 Bolts | 5+ years |
| Padding | Foam | Rubber Grips | 1-3 years |
Time vs. Convenience: Making the Right Choice
While building your own pull-up bar can be rewarding, it’s important to consider the time investment required. Let’s break it down:
- DIY Construction: 2-4 hours plus shopping for materials
- Tool Investment: $50-150 if you don’t own them
- Learning Curve: Moderate to high
- Installation Time: 1-2 hours
For many busy professionals and home fitness enthusiasts, investing in a quality door pull-up bar might be more practical, offering immediate setup and proven safety features.
Maintenance and Care
To ensure longevity:
- Check all connections monthly
- Tighten any loose bolts immediately
- Clean the bar regularly
- Inspect for rust or wear
- Test stability before each workout session
Alternative Solutions
If DIY seems daunting, consider these options:
Getting Started with Pull-Ups
Once your bar is installed, begin with:
- Proper pull-up progression
- Resistance band assistance
- Regular practice schedule
FAQ
Q: How much weight should my DIY pull-up bar support? A: Design for at least 1.5 times your body weight for safety.
Q: What’s the ideal height for mounting? A: Allow 8-12 inches above head height when standing.
Q: Can I install this in an apartment? A: Check your lease agreement first. Door-mounted options might be better for rentals.
Take Action Now: Your Path to Pull-Up Success
Don’t let the complexity of DIY construction hold you back from achieving your fitness goals. While building your own pull-up bar is rewarding, it’s not the only path to success.
Quick Start Option: Skip the hardware store trip and get started today! Check out our comprehensive door pull-up bar guide to find a pre-made solution that combines safety, convenience, and effectiveness. These bars offer:
- Immediate setup
- Proven safety features
- No permanent installation needed
- Multiple grip options
- Easy storage when not in use
Click here to explore the best door-mounted pull-up bars and start your pull-up journey today!
Conclusion
Building your own pull-up bar at home is a rewarding project that can significantly enhance your home workout routine. Remember to prioritize safety in construction and regularly check for stability. If you’re unsure about DIY installation, explore our comprehensive door pull-up bar review for ready-made solutions that offer similar benefits with minimal installation requirements.
Ready to start your pull-up journey? Whether you build your own or choose a pre-made option, the most important step is to begin. Check out our guide to door-mounted pull-up bars for a hassle-free alternative to DIY construction.


